Yes, yes, it's the start of another week and once again I find myself falling behind. I promise you, the baking gets done on time... it's finding time to blog about it that's hard. But once again, here I am, bringing you a recipe that my 12 year old nephew claims is "the best thing ever". He's even requested it for his birthday present next year. Must really be good, huh? See for yourself...

Chocolate Chip Brownies
Makes 1 9x13 pan
Recipe from Now You're Cooking!
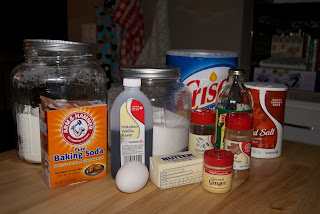
1/2 c. butter
2 c. semi-sweet chocolate chips (first amount)
1 1/2 c. flour
1 tsp. baking soda
1 1/2 c. sugar
1 Tbsp. vanilla
1/4 c. hot water
4 eggs
1 c. semi-sweet chocolate chips (second amount)
1 c. white chocolate chips

Melt butter and 2 c. chocolate chips together. In a small bowl mix flour and baking soda together. Put melted chocolate mixture in a large bowl. Add sugar and beat for about 5 minutes until smooth. With mixer on add vanilla, and gradually add water. Add eggs one at a time and beat after every addition.
With mixer on low, add flour mixture until blended.

Fold in remaining 1 c. semi-sweet chocolate chips and white chocolate chips. (Personally, I don't like white chocolate. Chocolate should be brown, in my humble opinion. I had peanut butter chips on hand, so that's what I used.) Coat the chips with 1 1/2 tsp. flour before adding to the batter, to keep them from sinking to the bottom of your brownies while baking. Trust me, it works.

Pour into a greased 9x13 inch pan. Bake at 325 degrees for 35-45 minutes. It took 51 minutes in my oven, so keep a close eye on these babies. Cool. Cut into squares and store in refrigerator.

I'm not sure why, but as my brownies were cooling, they sunk down in the center. I was a little concerned that this meant they would be less cooked in the middle, but no worries. They are FAN. TAS. TIC.