Let me just start by saying that this could possibly be the best thing I've ever baked. Not just in the last 5 weeks, but EVER. Seriously, it's that good.
Now that I've got your attention...
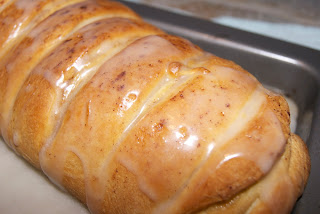
Cinnamon Raisin Bread
Recipe from Taste of Home
Makes 2 loaves

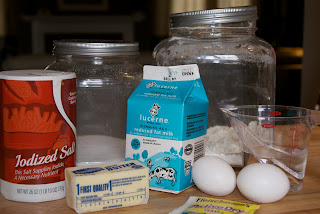
2 pkg. (1/4 oz. each) active dry yeast
2 c. warm water (approx. 110 degrees)
1/4 c. canola oil (I used vegetable oil)
1 c. sugar
3 tsp. salt
6 - 6 1/2 c. all-purpose flour
2 eggs
1 c. raisins
3 tsp. cinnamon
additional oil
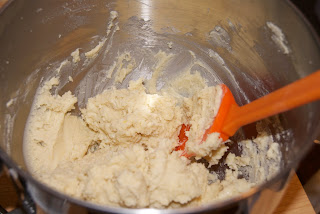
Combine the yeast and warm water in a large bowl. Let it sit for about 5 minutes until it looks foamy. Add the oil, 1/2 c. sugar, salt and eggs; mix until smooth. Add 4 cups of flour and mix until you get a soft dough.

(Don't you love this mixer? We call it "Big Red".)
Stir in as much of the remaining flour as you can. Turn the dough out onto a lightly floured surface, and knead until smooth and elastic, 6-8 minutes. (Remember to remove your rings and put them in a safe place while you knead the dough, or it'll get into every nook & cranny-- mine always go in an ice cube tray that lives on the counter.)

Place dough ball into a lightly oiled bowl, turning once to coat the dough.

Cover tightly with plastic wrap and allow to rise until double in size, about 1 hour.

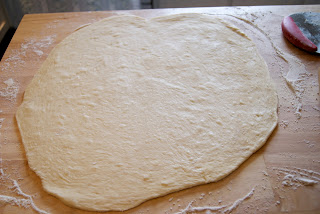
Punch dough down and divide in half. Knead 1/2 c. of raisins into each section of dough. Roll each section into a 15x9 inch rectangle.

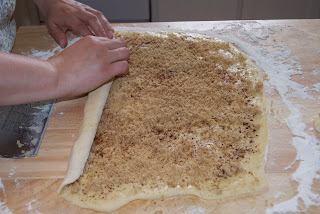
Combine the remaining 1/2 c. of sugar with cinnamon. Brush the rectangles with oil, then sprinkle with the cinnamon and sugar mixture, leaving 1/2 inch margin all the way around.

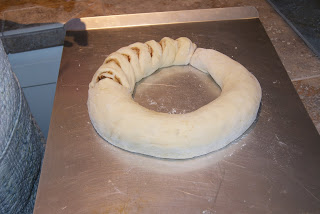
Starting at the short end, roll the dough up, jelly-roll style. Pinch the seams to seal, then place in 2 loaf pans, seam side down. Cover and let rise until doubled in size, about 30 minutes.

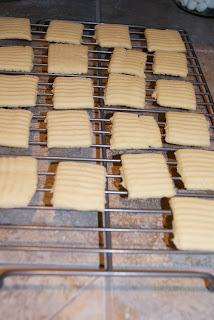
Brush the tops with a little more oil, then bake at 375 degrees for 35-40 minutes. Remove from loaf pans and cool on wire racks.

A few notes:
1) I used half whole wheat flour and half all-purpose flour, just to see what would happen. Good things happened.
2) I used the paddle attachment for mixing the dough with the 4 c. flour, then I used the dough hook for adding the remaining flour.
3) This bread is amazing. I toasted it and added butter. So. Good. Tastes better than store-bought, and I know exactly what went into it, and can pronounce all the ingredients.
No preservatives + no high-frutcose corn syrup = good for your family.
Please try this bread. Add a slice of cheese for even more yumminess. You know you want to. :)